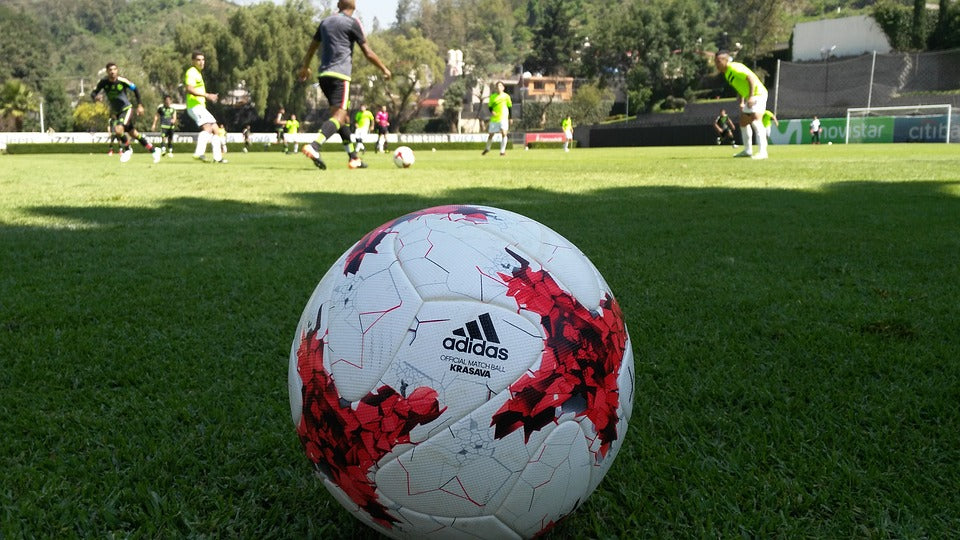
Custom printed soccer balls are in big demand these days. Lots of businesses want their name known in different formats; one of them are soccer balls. The designs on the soccer balls may vary: some may just want to transfer their name, logo, or complex art. Whether your graphics style may be, we will show you 9 steps to make your own custom printed soccer balls.
What Materials Do You Need to Make Your Own Custom Printed Soccer Balls?
The method we're going to show you is simple enough to do at home, as you can find most of the materials in the comfort of your home.
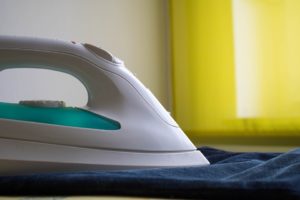
Of course, the main thing you're going to need is a soccer ball. You will print your desired graphics on it. Next, you're going to need a regular house iron or a mini crafting iron. It all depends on the size of your graphics. Use the regular house iron if your graphic is larger, and the mini crafting iron if your graphic is smaller in size.
Then, prepare a pick tool or scissors. You're going to need one of these to further model the soccer ball after the printing process. Also, take some hotfix tape to stick the graphics in place.
Last but not least, get a thin, stretchable material on which you will transfer your graphics in the first place. We will use that material to transfer the graphics on the soccer ball itself. Easy weed stretch material is recommended as it doesn't leave a lot of marks after melting.
Now that we have all the required materials listed, let's move on with our 9 steps to make your own custom printed soccer balls!
Step 1: Visualize and Create a Design

You will need to create a killer graphics or give someone else to create one for your soccer ball. There are numerous graphic design tools around, so pick one that suits you best, and start designing.
We can also design your desired graphics for you if you don't want to bother with that yourself. Also, feel free to use our Soccer Ball Designer Tool to see how your graphics will look on the ball!
Step 2: Screen Print Your Desired Graphics

Before you even begin tampering with the soccer ball itself, you need to transfer the desired graphics. After you've decided on your graphics, screen print the logo on the easy weed stretch. Now, you have a sticker with your logo! This will be used in the next step.
Step 3: Grab the Hotfix Tape and Scissors

Now, you want to adjust the size of your sticker for your soccer ball. Grab hotfix tape and use scissors to cut off an area a bit larger than your sticker. When you do this, you will be prepared for the ironing part you are going to do later!
Step 4: Stick the New Combination
The combination you made in the last step will withstand the heat used for the ironing process. So, stick this combination on the ball. You don't want to apply a lot of pressure to this area. If you want your graphics on the other spot, you will need to remove the sticker/easy weed stretch combination.
Step 5: Check If the Sticker Will Melt on the Soccer Ball
Now, it is smart to do a sort of test run for the graphics transfer process. Take the mini crafting tool and apply a little heat to the sticker area to see if it melts. If it is melting, this is a good sign; a heat transfer process is taking place.
Do this little test first to not waste materials and soccer balls, which will just give you unnecessary costs.
Step 6: Heat Transfer Your Desired Graphics
Once you determine that everything is going by the plan, based on the previous step, just continue with the heat transfer process. You can continue using the mini crafting tool if your graphic is small enough. Otherwise, use the regular household iron to heat transfer your print to the soccer ball.
Keep in mind that easy weed material will get compressed a bit when the ball gets tampered with. You want the easy weed to withstand the kicks on the ball that will eventually be made once it's ready for usage.
Step 7: Check the Ball for Bubbles

You will know that everything is going well if the ball is not bubbling up and making additional adjustments that you didn't want in the first place. If there are some bubbles left, you will need to remove them in the safest possible way.
Step 8: Remove the Hotfix Tape
Before you deal with the bubbles on the ball, you will need to take the hotfix tape off. This will set your graphics free on the ball! You don't want to destroy the tape before taking it off to not complicate the final steps.
Step 9: Take Care of the Bubbles
Now is the time to put the pick tool to deal with the bubbles on the ball. Pinch the bubbles with a pick tool to make them disappear. Repeat this step until all the bubbles are gone or hidden from plain sight. Feel free to stretch around and kick the ball to check if the place where your logo is located is stable enough.
Congratulations, you have made a custom printed soccer ball all by yourself! Now, you can utilize this 9 step guide for making more custom printed soccer balls!
Or, we can make the custom printed balls for you, free of charge! Check out the video below to see how we screen print and hand stick your order (it is less expensive and provides better quality):
https://www.youtube.com/watch?v=hg_BaDm7JmEIf you have any other questions or concerns about the soccer balls, feel free to reach us out through email or live chat.
Looking for more interesting content about soccer balls?