When it comes to their shape, skateboards are very similar to surfboards - which are not too complicated to create. Well, the difference is in the size of the deck and in the fact that the skateboard has wheels attached to the deck. Skateboards are a popular means of short-distance transportation, and many perform amazing tricks on them. There is no doubt in the success of skateboards, and the culture it has brought together. Well, in this short read, you will learn how to build your own skateboard deck. We will try to make things as simple and straightforward as possible for you!
There are six steps in this guide:
- Prepare the Veneers
- Glue the Veneers
- Press the Unshaped Board & Cure It
- Remove the Uncut Deck & Apply Your Design
- Cut Out the Deck Tailored To Your Design
- Smooth Out the Skateboard Deck
Without further ado, let's start!
Step #1: Prepare the Veneers
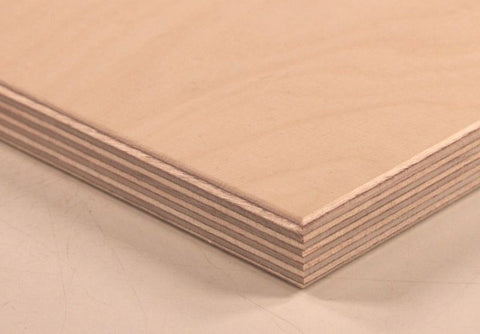
Skateboards aren’t created from just one wood piece, as they need to endure damage and stress from continued use. That’s why various layers of veneer and plywood are connected and pressed to form a skateboard deck. Usually, standard skateboards are composed of seven veneers, but there are also some decks that use nine veneers.
The veneer number and their arrangement will reflect the weight and flexibility of a skateboard. Most boards are 10mm thick. Veneers can be classified into three classes:
- Face plywood
- Sanded or unsanded center plywood
- Unsanded cross-band plywood
For a seven-layered deck, we need to organize the veneers in this way:
- Face plywood
- Center plywood
- Cross-band plywood
- Center plywood
- Cross-band plywood
- Center plywood
- Face plywood
Step #2: Glue the Veneers
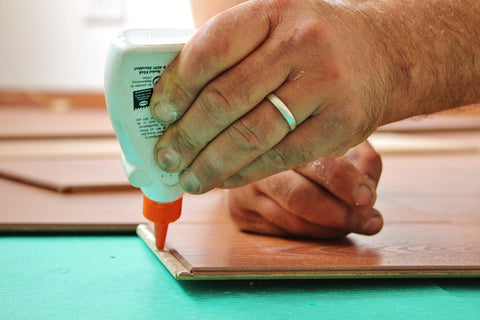
After placing the veneers, we need to glue them. You should use tie bond for this step, as it will firmly hold the layers of plywood, and is specifically made for this kind of wood. Before you start gluing, make sure that the unsanded part of the face plywood is facing downwards, and the sanded part is facing upwards. Then, apply the tie bond to the unsanded part. After that, place the center layer on the face, and repeat this process seven times.
Step #3: Press the Unshaped Board & Cure It

After you make sure that all veneers are glued together, now comes the time for pressing. Choose two cardboard pieces that are at least three inches wider and longer than the board. Now, take the frame, and put the veneers between the cardboard and the frame. Next, you will require:
- 20” to 16” nuts along with bolts
- 2” to 4” channel irons
- Washers
Put the channel irons in the middle of the frame so that you can nicely press it. Leave the skateboard deck to mold for at least eight hours. Check the deck every hour to make sure that the bag is tight. You will need to suck out more air from the bag every once in a while during this process.
Step #4: Remove the Uncut Deck & Apply Your Design
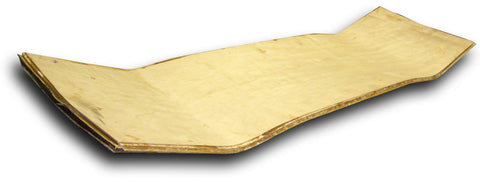
Once the skateboard deck has cured, remove the deck and the cardboard from the mold. Now, you have an uncut skateboard deck that is ready for design application if you wish so!
For skateboard design, you can utilize a design card program (better if you want to be more precise with the tail and nose parts), or draw the design yourself on a graph paper. Once you have the design ready, put it on top of the uncut skateboard deck, but make sure that you don’t tape it on. Before that, you need to be sure of the length of the tail and nose of the board. When you determine that, mark the points where you want to place the trucks.
After all of this, you can start drawing the layout of how you will cut the skateboard deck.
Step #5: Cut Out the Deck Tailored To Your Design
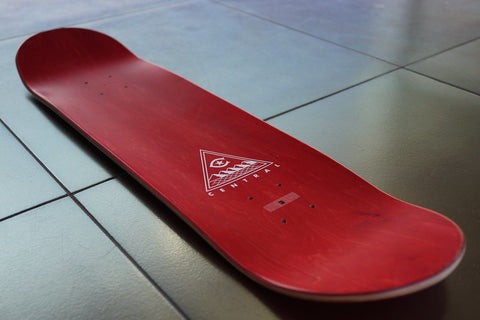
Now, it is high time to cut out the deck, according to the design you drew in the last step. We recommend using the band saw because of its preciseness, but if you don’t have one, a jigsaw will get the job done, albeit with less desirable results. After you cut out the deck, use a router or a rasp the curve the board edges, so that you don’t get splinters all over the board.
Step #6: Smooth Out the Skateboard Deck
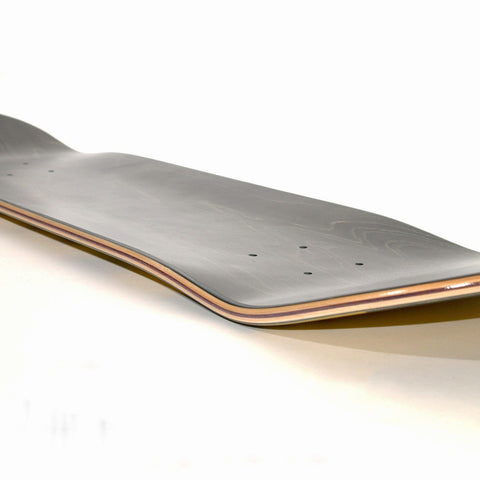
After you curve the board edges, there is one last thing to do. Now, you just need to sand the whole deck with sandpaper or steel wool until the board is super smooth. Before that, make sure to drill out the truck holes before you smooth out the deck.
______________________
Now that you know how to build your own skateboard deck, we can provide an alternative for you, if you don’t want to get your hands a bit dirty. We can design a custom skateboard for you with our handy Designer tool. If you have any questions or concerns, feel free to reach us out via email or live chat.

